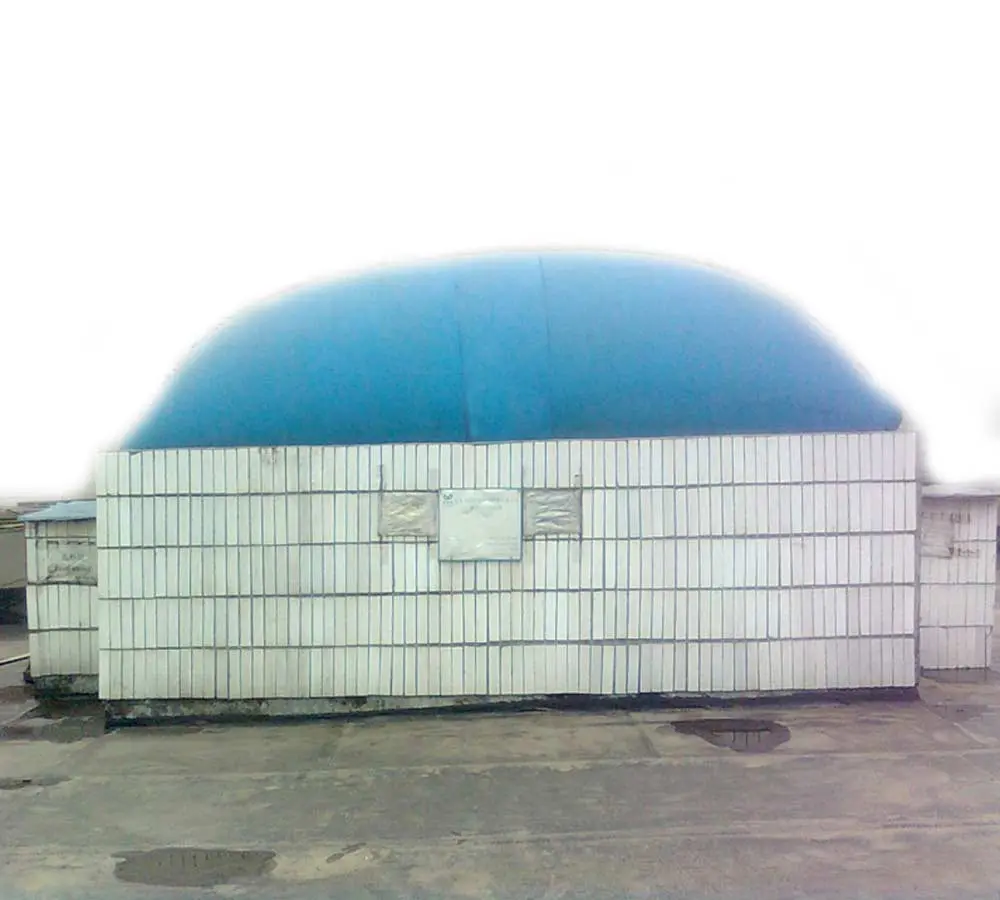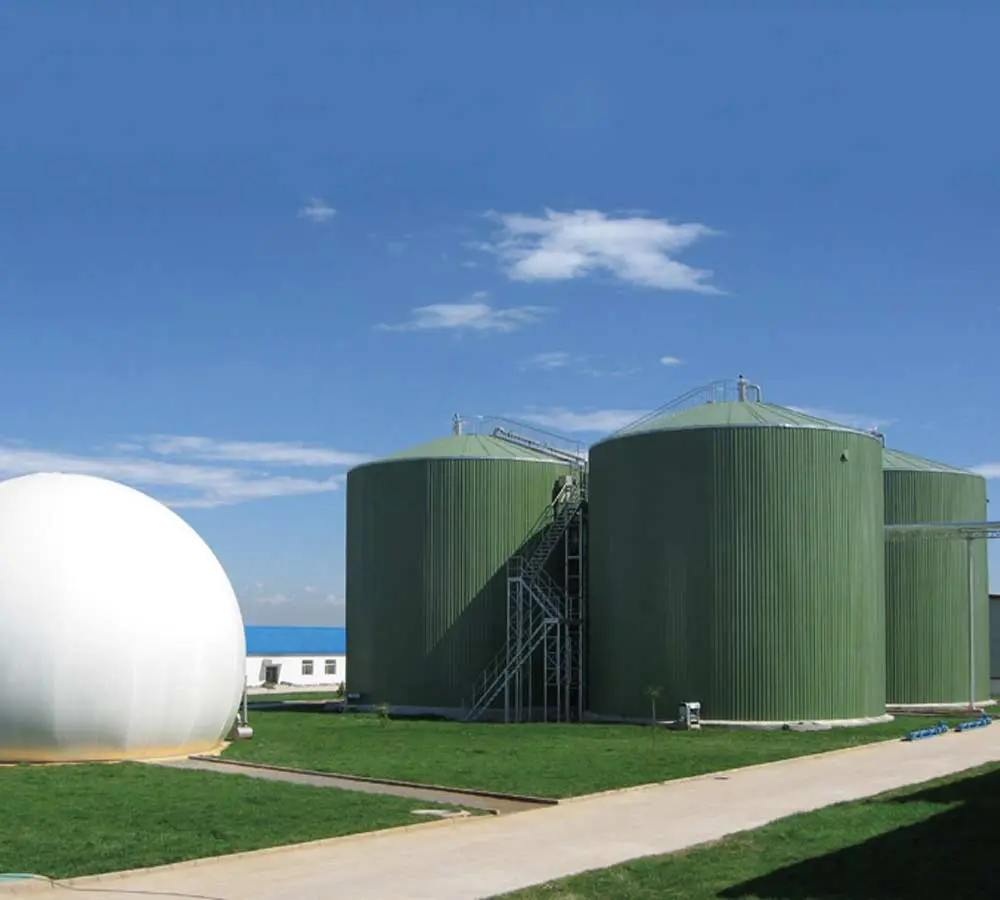
Slow gas production or leakage in biogas tanks
(1) The biogas tank has been loaded with materials and water, and the water level does not drop, but the water column on the pressure gauge does not rise. It is necessary to check whether the tank is leaking. The flame method can be used.
The method is: open the switch of the gas pipeline, then add water to the pool to the movable cover, exhaust the air in the gas box space in the pool, and then turn off the switch. Take out water from the pool and let the water level drop to about 600mm below the cover. After 24 hours, if there is no abnormal change (i.e. the water level remains unchanged, the movable cover does not leak, etc.), light a candle or oil lamp, aim the nozzle of the gas pipe at the flame, and turn on the switch. If the flame is sucked into the nozzle at this time, it indicates that the gas box is of good quality and does not leak; if the flame does not rise or change as usual, it indicates that the gas box is leaking.
After a period of time (5 to 10 days in summer, about 20 days in winter when the pool temperature is above 10℃) after the biogas pool is loaded, if there is still no gas production, the gas box may be leaking. At this time, the gas pipe can be aimed at the flame (note: the gas pipe is 10m away from the biogas pool, and it is strictly forbidden to ignite at the gas pipe mouth to avoid backfire into the pool and cause the pool to explode), and turn on the switch. If there is no gas spraying and the flame does not move, it proves that the gas box (or pipeline) is leaking; if there is gas spraying but it does not burn, there are too many impurities, and try again after eliminating them several times; if it can be ignited, the gas production is small. This is a process from non-existence to existence, from small to large, which is a normal phenomenon.
(2) The water column of the biogas pressure gauge rises very slowly, there is insufficient gas, and there is fire but it is not strong. In this case, positive and negative pressure can be used to measure: remember the degree of water column rise on the first day, release the gas, turn off the switch, take out a few buckets of water from the pool to form a negative pressure of more than 100 mm, and after another 24 hours, pour the water back into the pool and observe the height of the water column rise on the pressure gauge. If it is the same as the first time, it means that the pool is not leaking but is producing gas slowly; if the water column on the pressure gauge is higher than the first time, it means that the pool is leaking.
(3) The biogas tank starts to produce gas normally, but soon the gas production drops significantly. The reason for this phenomenon is leakage.
(4) During the period of loading and gas production in the biogas tank, if the water column suddenly moves in the opposite direction of the air intake direction and negative pressure appears, it means that the biogas tank is leaking.
- Methods for finding the leaking part of the biogas tank
The method of checking the outside first, then the inside, gradually eliminating doubts, finding the correct part, and then repairing it accordingly.
(1) External inspection method. Circle the plastic tube with the switch installed, tie one end with a rope, put it in a basin filled with water, and use an air pump (or blow with your mouth) to press air into the other end to observe whether there are bubbles in the plastic tube, switch, and joints. Where there are bubbles, there are small holes for air leakage. When using biogas, you can use a brush to apply soapy water to the air pipe, gas pipe, switch, straight, tee, elbow, reducer and other joints to see if there are bubbles. In addition, the joints between the air pipe and the pool cover and the bonding place of the movable cover are also prone to problems, so pay attention to inspection.
(2) Internal inspection method. According to the external inspection, after eliminating the external leakage factors and determining that there is water leakage or air leakage in the pool, the liquid in the pool should be cleaned up. After the gas in the pool is completely eliminated, enter the pool to observe whether there are cracks or pores in the pool cover, pool wall, pool bottom, inlet and outlet pipes, and whether the air pipe is loose. Use your fingers or a small wooden stick to knock on various parts of the pool body. If there is a hollow sound, it means that there are wing shells in the sealing layer. The joints between the inlet and outlet pipes and the pool wall or the pool cover are also prone to cracks and should be carefully checked. It is also necessary to observe whether there is water seepage on the pool wall. For the inconspicuous water seepage areas, a layer of dry cement powder or plant ash can be evenly sprinkled on the surface. If there are wet spots or wet lines, they are leaking holes or leaking lines. Because where water leaks out, water will also seep into the pool wall. In this way, the exact leaking holes and gaps can be found and marked for repair.


